
Ennen kuin ensimmäinen paneeli nousee maasta
Kaksikerroksisen levykaton asentaminen ei ole monimutkaista, mutta se ei siedä virheitä. Levyt ovat suuria, korkeudet merkittäviä, ja varhaisessa vaiheessa tehdyt virheet voivat vaikuttaa koko asennusprosessiin. Todellinen työ alkaa jo ennen kuin ensimmäinen levy nostetaan paikalleen. Teräspurjeiden tulee olla tarkistettu tasaisuuden ja suoraviivaisuuden osalta. Jo pienet poikkeamat purjeiden tasosta näkyvät katopinnalla aaltomaisina muodostelmina tai pahimmassa tapauksessa rasittavat levyliitoksia ja aiheuttavat vuotoja myöhemmin. Laser-tasauslaite tai langan avulla voidaan nopeasti havaita mahdolliset korkeuspoikkeamat purjeissa, joiden korjaamiseen tarvitaan täytteitä. Varmista myös, että kaikki purjeiden välimatkat vastaavat levyjen kannatuskykyä. Laskelmat perustuvat tiettyyn tuentavälimatkoon, ja sen ylittyminen tarkoittaa, että levy taipuu kuormasta enemmän kuin suunniteltu.
Nostaminen ja käsittely
Kattoon käytettävät sandwichlevyt ovat pitkiä, usein kaksitoista metriä tai pidempiä, ja niillä on paljon pinta-alaa, joka saa kiinni tuulen. Turvallinen käsittely on ehdoton vaatimus. Pienemmissä työmaissa työntekijäryhmä voi nostaa levyt yksi kerrallaan portaita pitkin käsin, mutta kaikissa teollisella mittakaavalla toteutettavissa projekteissa mekaaninen nosto on ainoa järkevä tapa. Kranilla, jossa on imunosturi tai levitysvarras pehmeillä nauhoilla, on ideaali ratkaisu. Imunosturi tarttuu levyn etupintaan vahingoittamatta pinnoitetta, ja levitysvarras pitää levyn tasaisena ja vakautettuna nostoa varten. Tuuli on tässä tilanteessa vihollinen. Jos tuuli on voimakkaampaa kuin kevyt ilmavirtaus, tulee harkita nostotoimenpiteen keskeyttämistä. Levy, joka alkaa heilumaan kranan nostoköydessä, muodostaa turvallisuusvaaran ja voi vaurioitua jo ennen kuin se saavuttaa katon. Levyt tulee sijoittaa purliineille asennuksen käänteisessä järjestyksessä ja pinota ne harjan läheisyyteen, jotta työntekijät voivat liukuttaa kunkin levyn paikoilleen työn edetessä.
Ensimmäisen levyn lukitseminen paikoilleen
Ensimmäinen kattolevy asettaa linjan kaikelle seuraavalle. Jos se on vinossa jopa muutamalla millimetrillä rintamapuolella, tämä virhe kertyy koko katon kaltevuudelle, ja viimeinen levy saattaa jäädä yhdistymättä katon päätasoon. Käytä aikaa tarkkaan ensimmäisen levyn sijoittamiseen. Tarkista reunan ylitys rintamapuolella, tarkista tasaus katon päätasoon ja varmista, että levy on kohtisuorassa purliineihin nähden. Kun sijainti on vahvistettu, kiinnitä levy kiinnittimillä, jotka ajetaan profiilin harjalle merkittyihin pisteisiin, ei laaksoalueelle, jossa vesi virtaa. Kiinnityskuvio on tärkeä. Noudata valmistajan teknisessä dokumentaatiossa määriteltyä etäisyyttä ja sijoittelua. Tyypillinen kuvio sijoittaa ruuvit jokaiseen purliinin leikkauspisteeseen levyn pituussuunnassa sekä lisäkiinnittimiä sivuliitokseen.
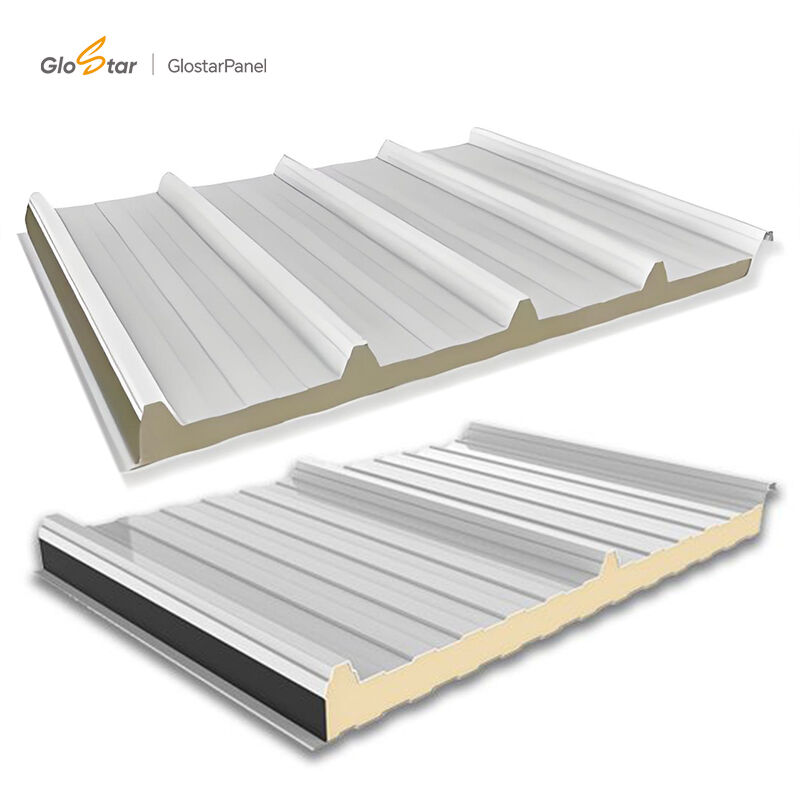
Sauma on kaikki
Teollisuuden käytössä olevat sandwichlevyt yhdistetään pitkillä reunoillaan kieli- ja urakokoontumalla tai lukittuvalla sivuliitoksella. Tämän liitoksen oikea teko on se, mikä erottaa hyvän asennuksen ongelmallisesta asennuksesta. Levyt tulisi liukua yhteen vahvalla, mutta ei liiallisella voimalla. Jos liitos on liian tiukka, metallipinnat voivat muovautua tai liitos voi jumittua ennen kuin se istuu täysin paikoilleen. Jos liitos on liian löysä, menetät tiivistyksen ja rakenteellisen lukituksen. Levyissä, joihin on tehtaalla asennettu tiivistysnauha liitokseen, tarkista ennen seuraavan levyn kiinnittämistä, että tiivistysnauha on ehjä ja jatkuva. Kun levyt on lukittu, asenna sivuliitoksen kiinnittimet määritellyn välimatkan mukaisesti. Nämä kiinnittimet vetävät liitosta tiukemmaksi ja saavat aikaan lopullisen sateentietiivistyksen. Kulje kätesi liitoksen yli kiinnityksen jälkeen tunnistaaksesi mahdolliset aukot tai epäsäännölyydet.
Leikkaaminen ja läpäisyt
Jossain vaiheessa jokainen katon asennus vaatii leikkaamista. Sandwich-paneelin täytyy sovitella ikkunoitten, ilmanvaihtoputkien tai katonvesiä viemärien ympärille. Sandwich-paneelien leikkaaminen paikallisesti vaatii huolellisuutta, koska leikataan metallia ja eristettä yhdellä leikkuukerralla. Ympyräsaha, jossa on metallille tarkoitettu hienahampainen terä, toimii hyvin. Leikkaa paneeli mahdollisuuksien mukaan nurin päin, jotta terä poistuu metallipinnan läpi eikä repeä eristettä. Pyyhi kaikki metallihiukkaset pois paneelin pinnalta heti leikkaamisen jälkeen. Teräshiuksia, jotka jäävät pinnoitettuun metallikattoon, ruostuu muutamassa päivässä ja aiheuttaa lähes poistamattomia tahroja. Kaikkien katon läpivientien yhteyteen asennetaan sopiva tiivistyskotelo ja tiivistetään se huolellisesti. Tämä on ykköspaikka, josta katon vuodot alkavat, joten käytä ylimääräistä aikaa varmistaaksesi, että työ tehdään oikein.
Harjan ja räystäspäiden valmistelu
Harja ja räystäs ovat kahdet tärkeimmät kaksikerroksisen levykaton päätökset. Harjassa levyt molemmilta katon kaltevuuspuolilta kohtaavat, ja tähän liitokseen tarvitaan harjakappale tai harjapelti, joka peittää aukon ja tarjoaa ilmanvaihtoa, jos suunnittelussa on sitä vaadittu. Harjakappale kiinnitetään yleensä kiinnittimillä, jotka menevät läpi levyjen kärkien molemmin puolin, ja harjakappaleen ja levyn pinnan välinen liitos tiivistetään sulkujuovalla tai tiivistysaineella. Räystäässä levyn ulokkeen päätös tehdään yleensä räystäskoristeella tai vedenpoistopeltille, joka ohjaa veden sadevesikouruun. Levyn leikattu reuna räystäässä on tiivistettävä estääkseen kosteuden kapillaarisen tunkeutumisen eristeytimen sisään. Hyvin suoritettu harja ja räystäs eivät ainoastaan estä sääilmiöitä pääsemästä sisälle, vaan antavat myös katolle siistin ja ammattimaisen ulkoasun, johon asiakkaat kiinnittävät huomiota.